Tile part 3 - grout

The tile setters are making further progress with the upstairs home getting the master in floor heat cable laid, and grout on many of the floor tile areas.  Choice of grout is a matter of preference, but I prefer on the darker side of tile matched grout (and definitely not white grout - too easy to get dirty).

In my view the tile is a key part of the house interior decor, and can also be a highly expensive installation.  For this project we are using nice tile, but not the brand name made in Italy product. We have a lot of tile to install, front and rear mud rooms, big bathroom and laundry, so we are not skimping on the tile volume, or quality underlay (ditra, instead of plywood).

Freshly grouted floor tile

Freshly grouted floor tile

Tiling to the ceiling is nice touch in the shower-tub combo installation.  It is considered an 'upgrade', but everything in construction that is nice is considered to be an upgrade.  

Tiling to the ceiling is nice touch in the shower-tub combo installation.  It is considered an 'upgrade', but everything in construction that is nice is considered to be an upgrade.  


41st in Rosscarrock - a big year for redevelopment

Certain streets tend to get a bunch of re-development all at once.  This happened in a stretch of 17 ave in Montgomery a few years ago.  The development there has pretty much wrapped up because every lot available to be built on was sold and redone as a fourplex project.  I never got a final tally, but at least 30 townhouses were built there over 3 years including my project at 4715/4713 17 ave NW.  It was a major transformation of that run down and fairly decrepit street into what it is now.

41 st in Rosscarrock seems to be at a similar tipping point.  Right now there are six semi detached projects, either starting, almost done, or at the planning phase and likely to start this season.  That will be 12 total new homes on a three block run of 41st with 2017 sale or move in dates.

This volume of building would exceed the amount of construction work for the past 20 years, or maybe since the 1950's when many of the houses were built.  It could also bring in new vitality to the community, add to the local elementary school, and overall just increase the quality of the neighbourhood.  

Calgarians have a strong class based bias against renters (seems to be a remaining form of politically correct prejudice because it isn't race or gender based).  This has been widely reported in the media where petitions against any 'lower class' type of development is vitriolic and emotional, with lots of tears and 'property values' arguments masking the underlying dislike for lower economic class individuals moving in to an established area.  If the City attempts to bring in a little affordable housing, or a treatment centre for addictions recovery, you will see a massive swelling of NIMBY'ism, often on the front page of the paper.  In the case of 41 st, the houses that I am aware of that have been bulldozed were all renter occupied.  Due to the rough condition of these houses, the renters were not necessarily fine community members.  I am careful with my wording here, otherwise I may also fall into the Calgary prejudice against renters, but in this instance, you'd far more likely want to live next to the families that are buying my houses, and those nearby, vs the tenants that lived in the old shacks.  

Rosscarrock needed a huge amount of investment, and it is getting it all from the private sector right now.  The even better news is the passage of the Main Streets initiative, this will inject some public dollars and lots of rezoning efficiency into the mix.  Rosscarrock could just become the new 'it' community for SW inner city.  If this is the case, I should have built in 2019! And don't forget the new Calgary Cycle location at the old Fitz Flooring shop.  This is a huge year for Rosscarrock.

Dumpster on site, Orange sign, fencing, this shack has hours left to live.  Expect to see a machine here this week and this is another 41 st semi detached to be started in 2017.  

Dumpster on site, Orange sign, fencing, this shack has hours left to live.  Expect to see a machine here this week and this is another 41 st semi detached to be started in 2017.  

Garage building part 2

The crew is on site to prep not just the forms for the garage, we have to do a bunch of other flatwork such as the sidewalks and patio.  For the patio, it is poured against the house.  This is an area prone to settlement, so we need to take steps to avoid slumping and cracking.

To do this a few brackets are put in each side. The brackets are metal 90 degree angle iron that bolts to the foundation wall.  If settlement occurs, which is inevitable around window wells and other areas, the brackets keep the concrete where we want it.  You can't rely just on rebar to hold concrete in position. 

Here is the bracket installed and backfilled.

Here is the bracket installed and backfilled.

This is what the bracket looks like from a photo I pulled off the web.

This is what the bracket looks like from a photo I pulled off the web.

The sidewalk and garage work will be poured later this week, weather depending.  Lets hope for a few good days, because the forecast is pretty ugly at the end of the week.

Garage building

The time has come to get the 4 bay garage in at the rear of the project.  Garage building is a project tackled by many homeowners for their own property.  I've built a few large garages and it is a refreshingly simpler task than custom home building.  

First of course you need the design and permitting.  We've dealt with this months ago.  Second you get a lumber package with the truss design.  I've just paid for that and arranged delivery for later. I've also got an engineer on board for the pre pour phase.  My pad exceeds the city threshold so this is necessary.   

I've also lined up the concrete crew to prep and pour the flatwork.  Finally after that the framer can begin and we can get our electrician to wire the garage and put up the meter bases to power the houses.   

All of this work is contingent on getting the garage in the right spot.  For this the surveyors we're back today.  We have the four corners marked and the height of Slab identified.  If the weather holds and the crew is available we will have the slab done in a week.   


IMG_4400.JPG

Row-house Development Permit - In Advertising!

With permitting often when you are so frustrated at the pace of progress you think it will never be approved is when some forward motion happens.  This seems to be the case with my threeplex rowhouse.  Once again we are moving forward as the City appears to have released the project to advertising.  This advertising is an appeal window for affected parties to launch an appeal.  Basically this means the development is approved conditionally, and not yet releasable.  At this time we are always hopeful that nobody views the project as something worthy of such grievous insult to them or the community that an appeal is warranted.  

Progress at last!  I feel like I have been working on the design of this threeplex forever.  The six month land use re-designation was complete in November.  The City recorded the submission date of Dec. 8th on the DP, and approval Ma…

Progress at last!  I feel like I have been working on the design of this threeplex forever.  The six month land use re-designation was complete in November.  The City recorded the submission date of Dec. 8th on the DP, and approval May 4th.  That was longer than I had hoped as I wanted to start building in June (wont be possible).  The permit won't even be releasable until the end of May and I have yet to submit the building permit (drawings are still being prepared, joists and truss design not yet begun).  The property was acquired in May 2016, but the deal closed in August 2016.  By the time I can get going on this one I will have been carrying the condemned and soon to be demolished house for a full year.  Property tax and carrying cost are significant for any inner city property. The good news here is I officially have a project and can push hard for the building drawings and engineering to start.

How slow permit times impact inner city building

Once again, I seem to have got caught up in a slow approval process for my next project, a three unit rowhouse.  We are into the sixth month of the DP process.  We have made every effort to comply with the requirements of the multi family zone, however it seems from my perspective the City lacks a performance standard for turning around approvals.

The process of permitting a project starts with the DP.  Without this no forward progress can result.  In order to submit our DSSP for approval (this alone takes 5 weeks), we need the DP.  Without the DP we can't submit the BP either.  And without the BP we can't get the lumber yard to design the joists and truss package, the most essential part of the BP package that is out of my hands to create.  I can have the design company prepare the BP files early (we are doing so), but the danger is we do a lot of design work only to have to change it later if for whatever reason the DP needs to be changed.

All of these delays can consume an entire building season.  I knew this from the start so tried to get my DP in as early as possible (November), clearly, this was not early enough.  What is further frightening is the City tends to work a lot slower over the City months because the staff enjoy a lot of paid vacation time.

It comes back to a lack of a clear service standard for the staff to issue permits in a reasonable time.  The permits could be done a lot faster, but I have come to believe it is a conscious choice internally to continue to add procedural steps and reviews that slow the process.  I think this comes from the lack of customer focus of the City related to planning. The staff don't see the builder as the customer to be served.  Their motivation and reward system is directed elsewhere.  If the staff salary depended on prompt issuance of permits, I would likely have all my permits in place and a construction start date.  Instead I just have an ugly carrying cost for the property and a summer building season slipping away day by day. 

Why you should have bought a house last year

It seems pretty certain that at this point in the year, I can say with a lot of confidence, that anyone who was considering buying a house in 2016, but did not, because 'prices were going to come down' has made a mistake.

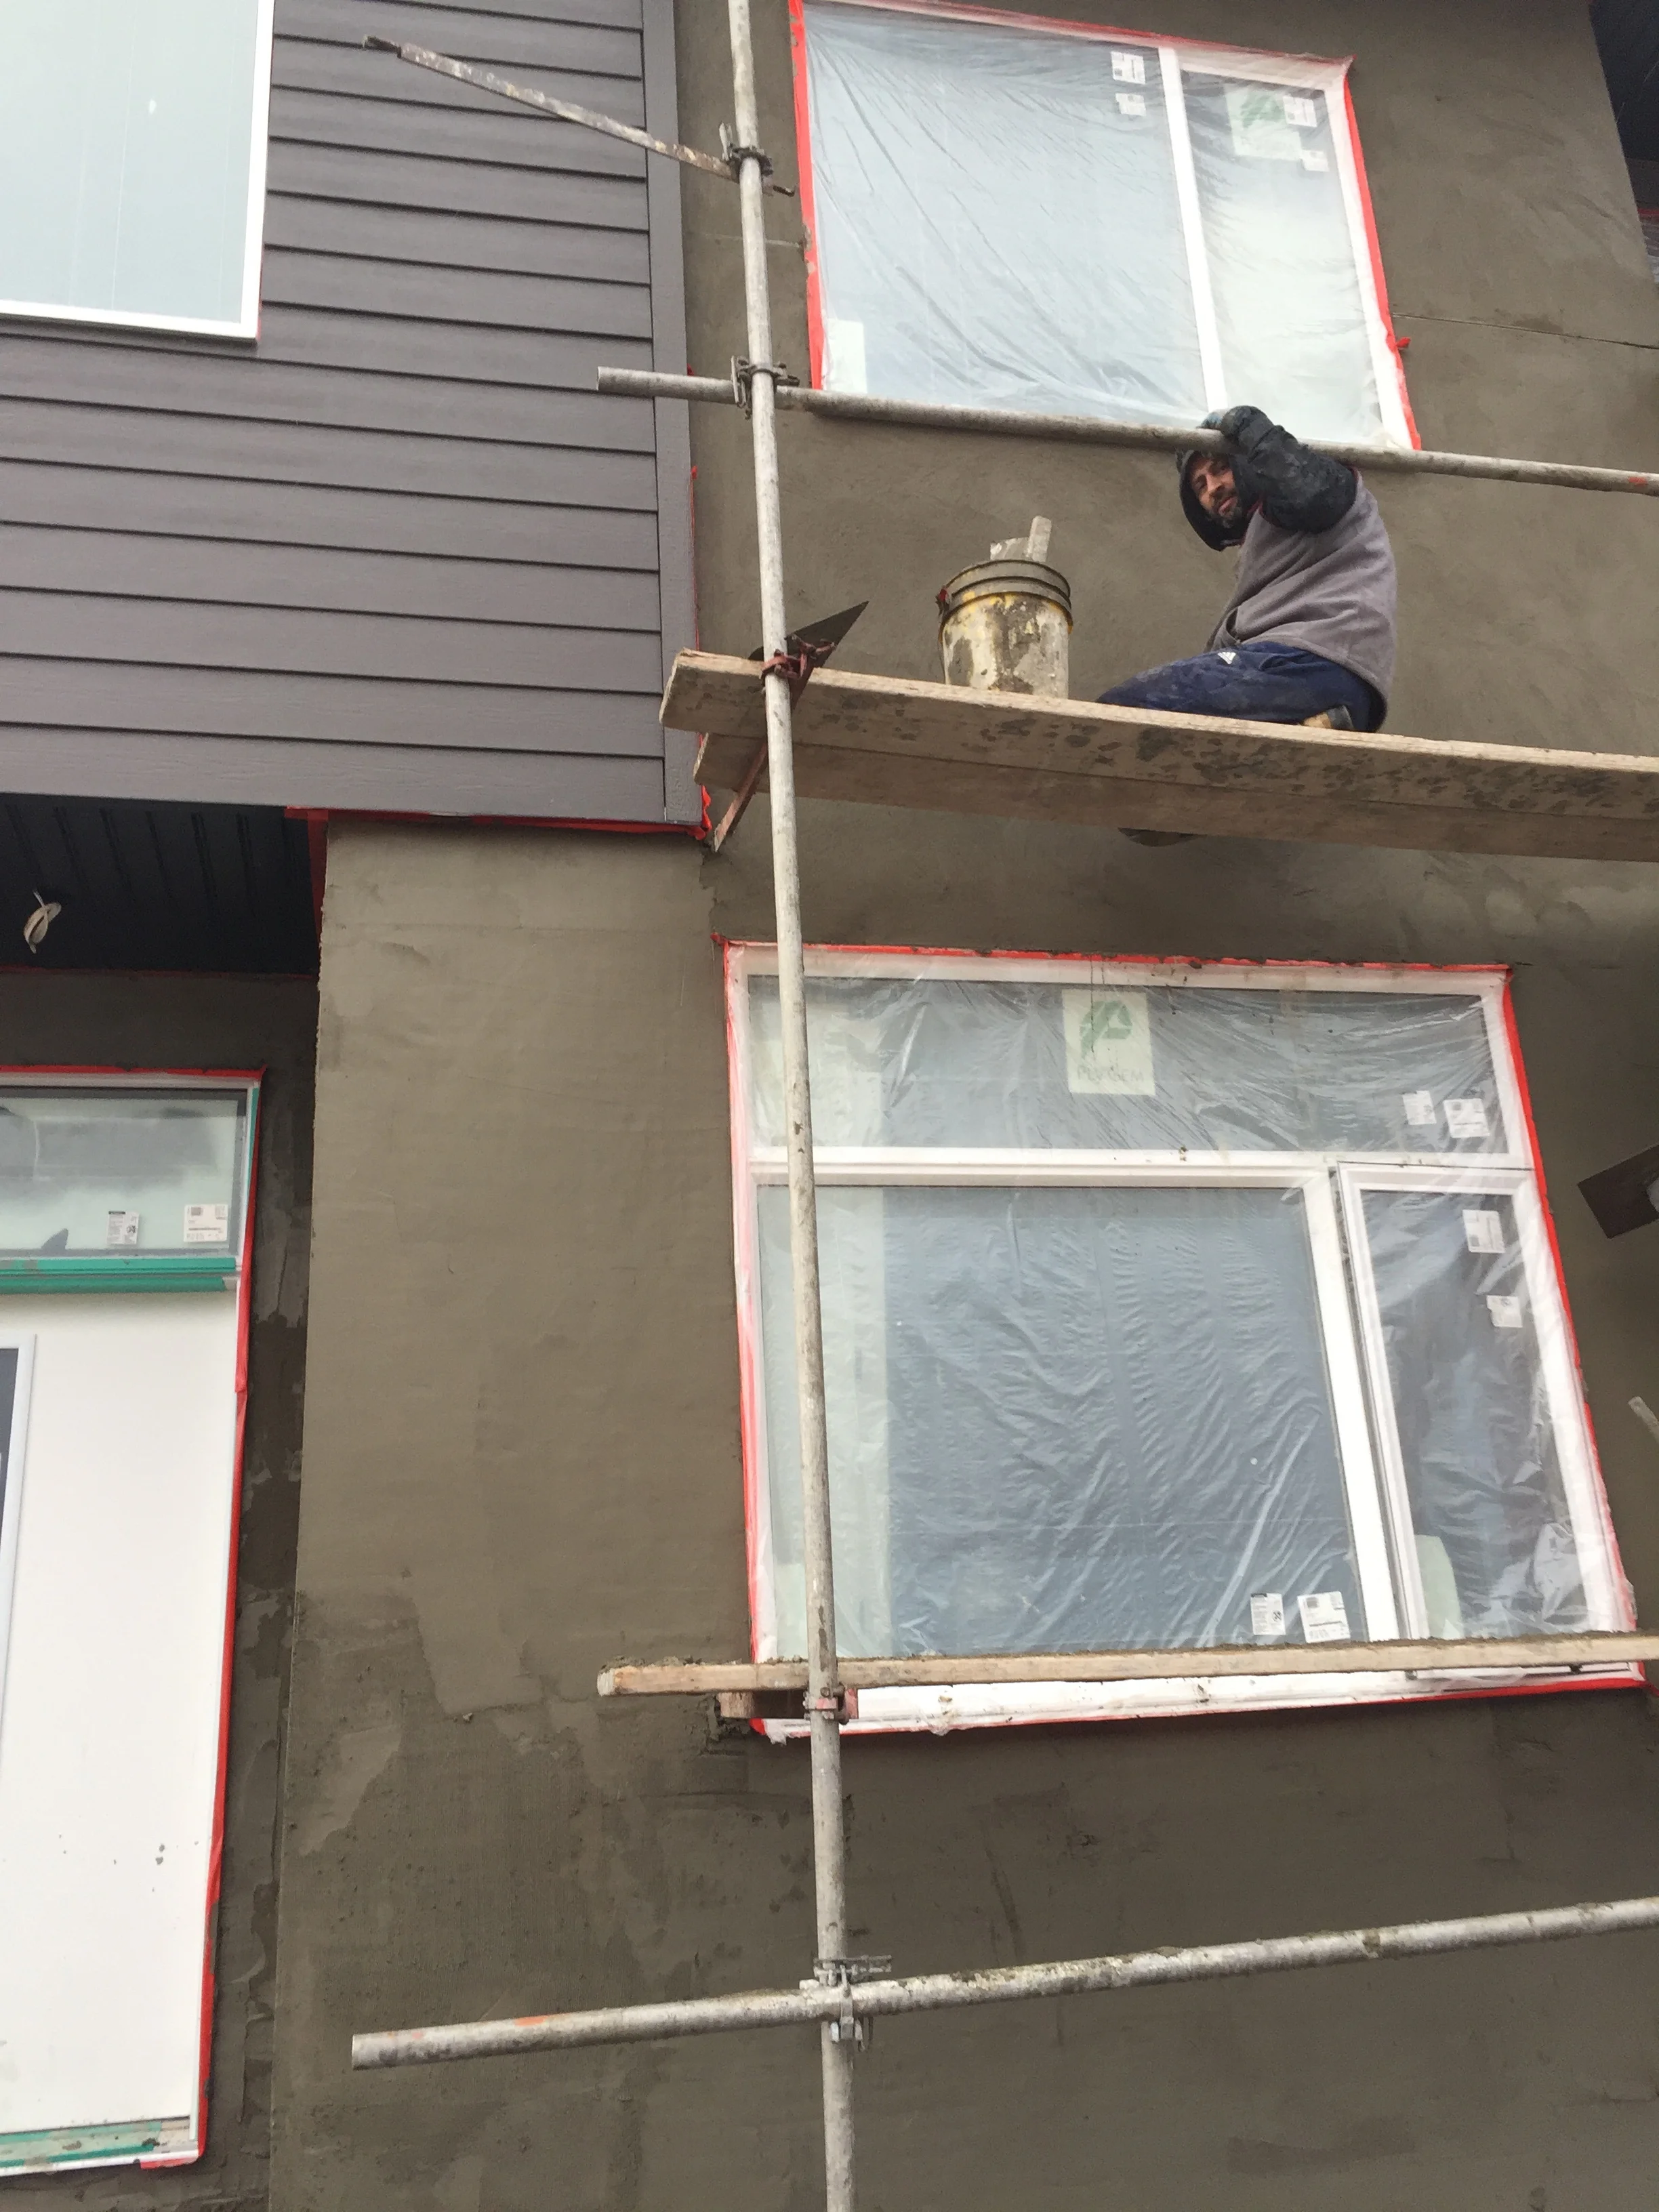
There has been an accumulation of events that are leading to serious and significant increases in construction pricing.  I can't think of a single input that is coming down in price, but many have gone up a lot.

1.  Trump election - this signalled the end of finding reasonably priced land in the inner city for the builders. For the end buyer, this would mean about $50k in increased land cost to pass on.  While the builder may or may not be able to pass on the increased land cost, rest assured he will try.  This land value increase will otherwise have a terribly negative impact on margins.

2.  CDN $ - it is going down again and most supplies including those made in Canada are priced in USD.  This has really impacted plumbing supplies like water heaters.  They are up 25% or more.  How a water heater can go up 25% based on currently fluctuation escapes me. 

3.  City Fees - the city is increasing many fees, the latest was the off site levy. Instead of putting the fees on home owners who have enjoyed cheap sewer rates for 30 years, they want to stick it to the builders.  

4. New energy code - This was brought in at the end of last year.  It is having a serious impact on building cost. I have heard reports of $10k per house. I don't actually believe that but it must be somewhat true because I have heard this from multiple sources. We do have a potential way to lower this burden  (subject of another post).

5. Tariffs and trade problems - The latest casualty is Canadian lumber mills that export to the USA.  Rather than lowering cost to the Canadian buyer to make up for lost volume the mills are apparently just raising prices to protect their profits.  I have heard from a reliable source that prices are up 10% in May alone!  Figure $3k per house extra.

6.  Impact from Fort Mac. fire?  Is this an issue? Hard to say.  Could be a lot of material and labour moving away from Calgary, and this could impact cost here.

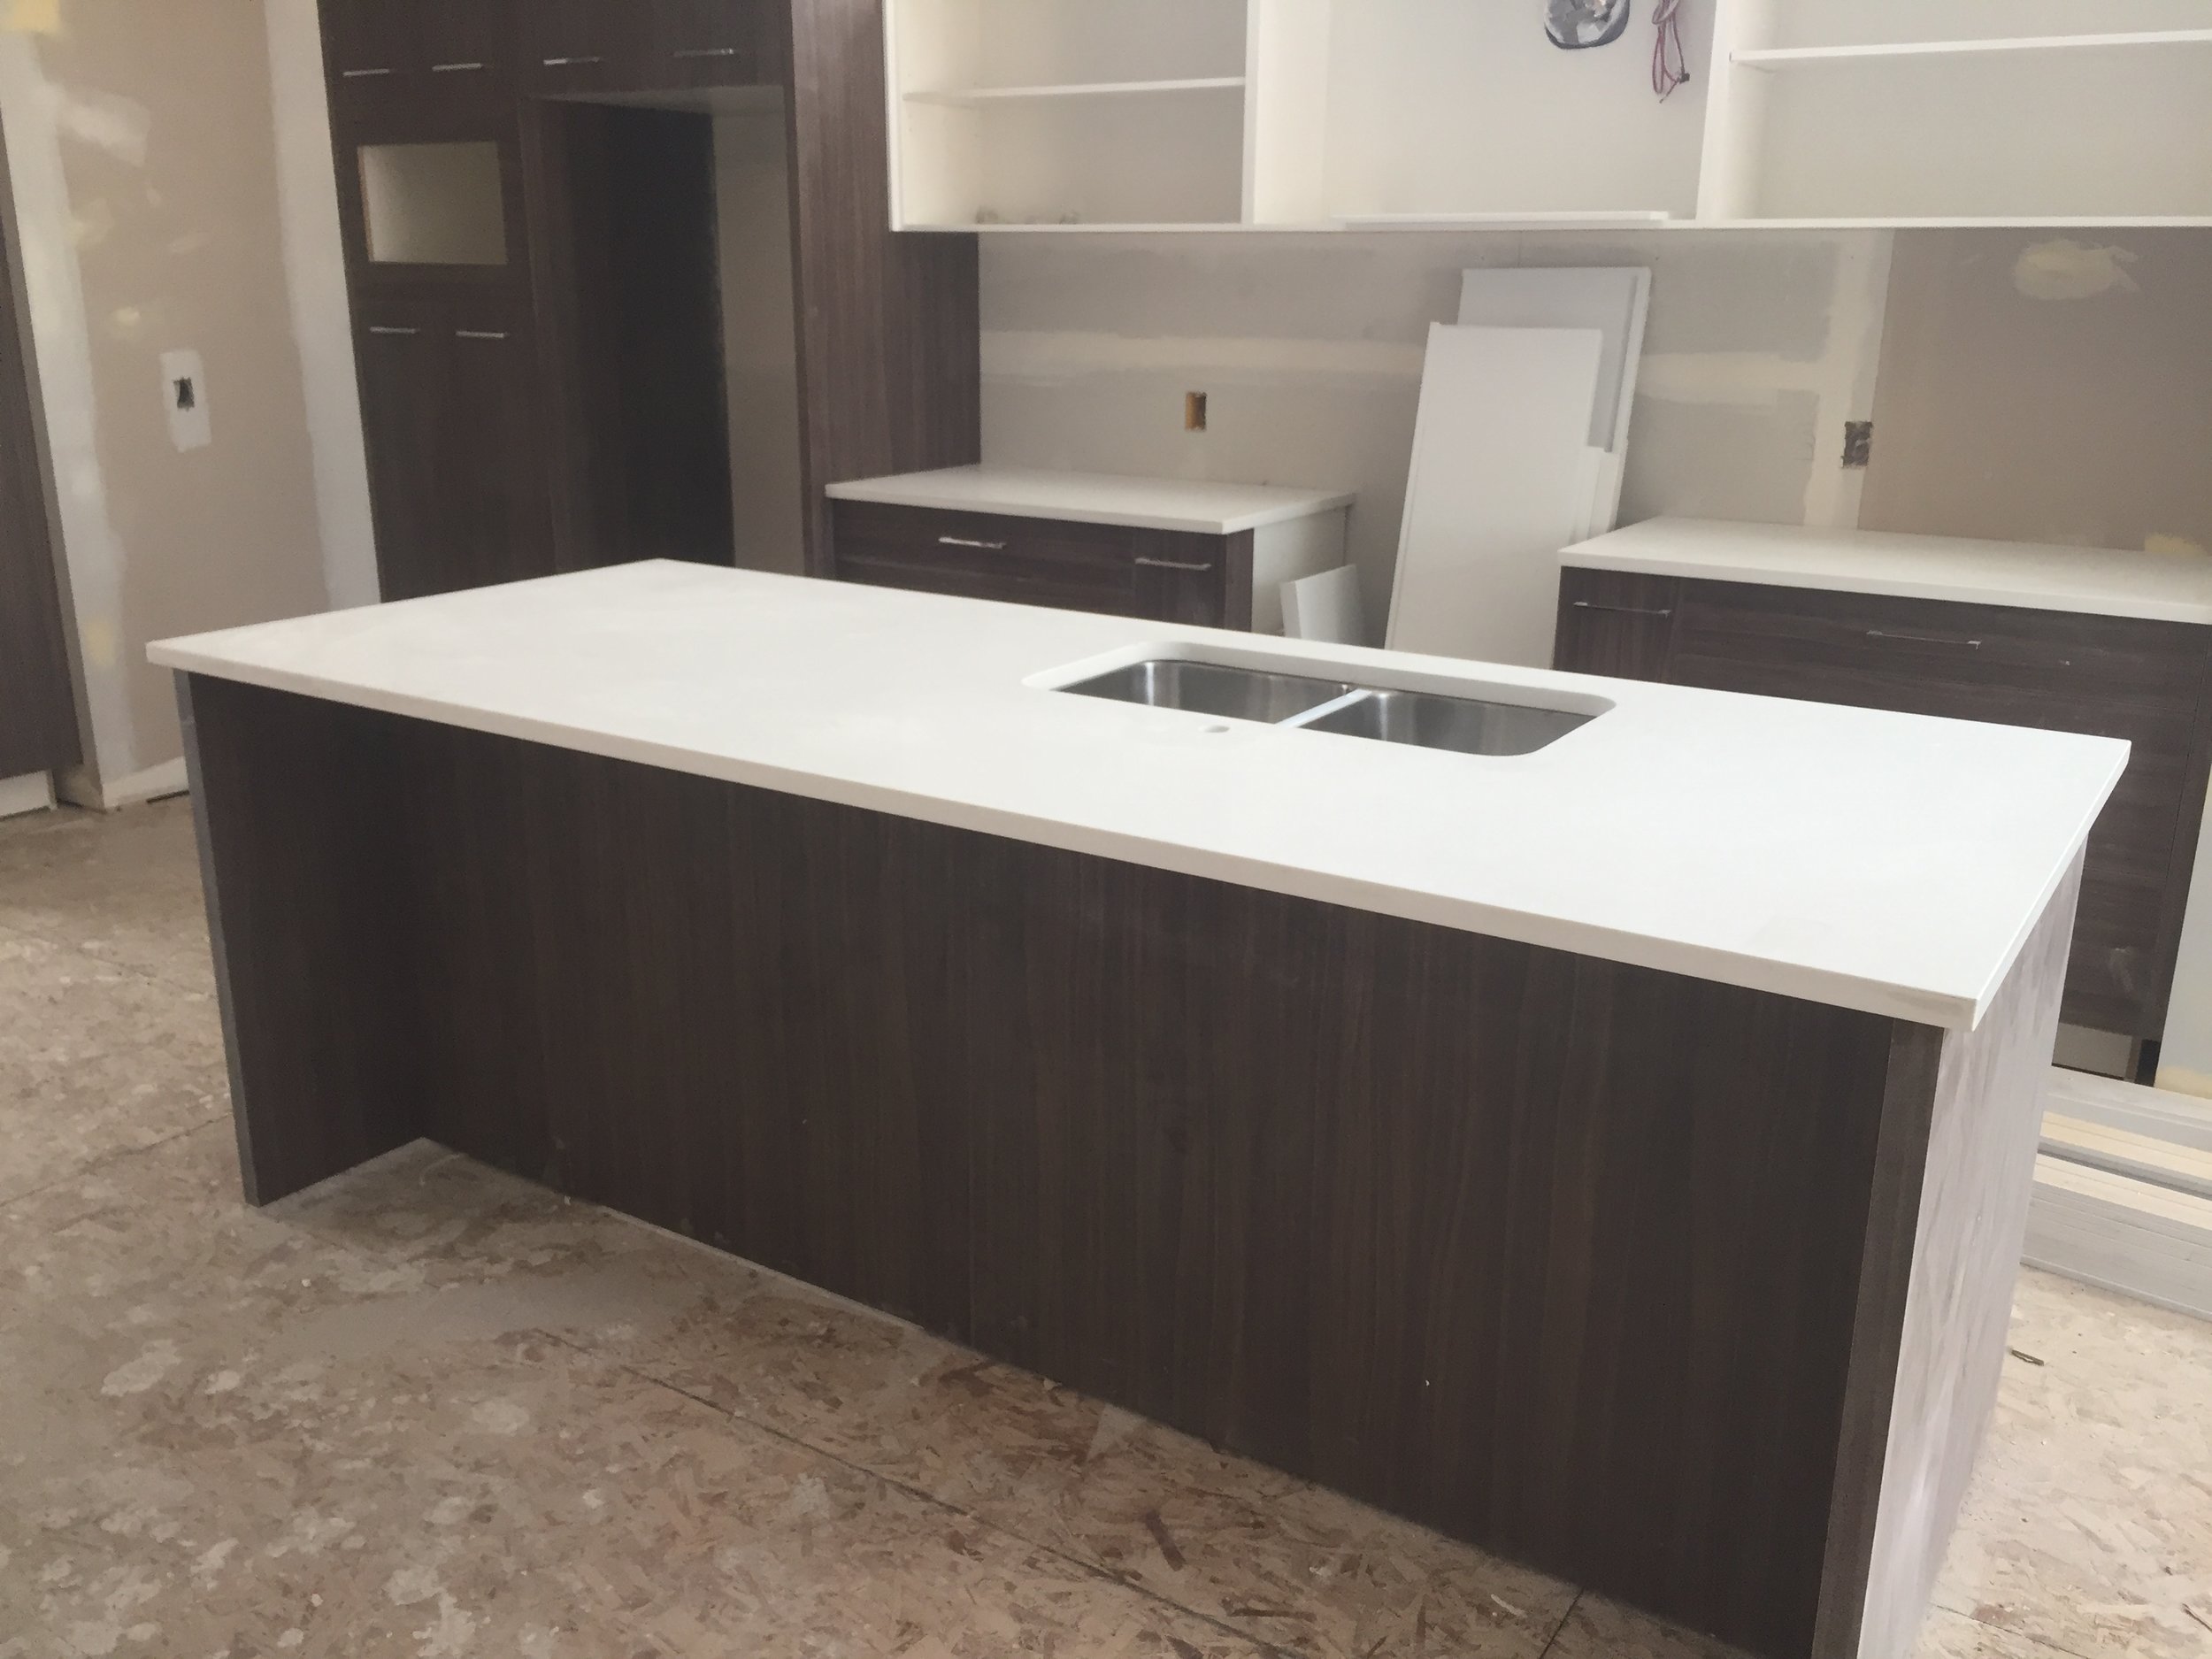
So there you have all the reasons why new houses are getting a lot more expensive.  You likely could have bought the same house last year for $75k less. I guess the question is, why didn't you?  I at least bought two houses...but didnt factor in all the increased costs.  At times like these I need to seriously consider if it is worth continuing to build houses using the methods and models I have relied upon to date to budget with the expectation that I can avoid losing money.  Losing money on a spec project isn't any fun.  It is like building a house for someone and giving them a cash bonus at the end, and doing it for free.  I'd like to avoid that.  Maybe the NDP government has some business friendly ideas?    

Construction screw-ups = builder headache

There is a certain number of mistakes to expect to happen during a large project.  What generally happens is the first trade does something to create a problem, and leaves it for the next trade, who somehow creates a worse situation.  Eventually the builder notices and then it can be a really big headache to undo the mess.  I like to feature my construction screw-ups so we can learn to avoid it next time.  The only way to identify these early enough to catch the presumptively is to be on site a lot and know what to look for.  

Often the mistake can be just a matter of inches, or even fractions of an inch.  In a recent example the receptacle was installed just a little too high.  Likely the electrician built in some margin of error so the receptacle definitely would not be installed to low (that would be even worse).  Once I realized the situation he was able to correct, it so no harm done.  This is a minor instance of a  construction headache.  We have worse.

How would this look once we tile the backsplash? Not good.  The plug needs to be just over 36 inch off the floor or it will just not work.

How would this look once we tile the backsplash? Not good.  The plug needs to be just over 36 inch off the floor or it will just not work.

tile part 2 shower waterproofing

We are making steady progress on the tile for house 1.  Unfortunately our tile contractor is busy and we are not getting the whole crew, just the one tilesetter is working and not full days.  The trades inevitably do this when busy, they can't please everybody so instead they spread themselves thin.  Still, we are seeing some forward progress and we hope later the entire crew will be available to tackle the complete project.

For tile in the shower, we want to make sure the walls are adequately waterproofed. We aren't tiling directly onto drywall either, we use the diamond back tile board for the walls, and we have a layer of roll on red seal on top of that to provide added water resistance.  

Fortunately I arrived in time to see the tile being applied on the waterproofed walls.  We never want any problems with tile, it is a nightmare to consider fixing tile problems after the house is occupied.

Fortunately I arrived in time to see the tile being applied on the waterproofed walls.  We never want any problems with tile, it is a nightmare to consider fixing tile problems after the house is occupied.

Multi-part series - the DSSP 1.0

The DSSP is one of the least pleasant components of the inner city multi family project.  First question most people would have is, what is the DSSP? Second question, why is it so unpleasant?

It stands for the Development Site Servicing Plan.  I don't know what this officially means, but to me it is the requirement for onsite storage and slowed release of storm water (mostly rain) into the City storm trunk.  The City likes to ratchet up the criteria that must be met on a regular basis, and it is becoming less viable, and more costly each year.   This mostly explains the unpleasant portion of our question above.

Each DSSP is unique and requires the services of a Civil Engineer to draw the plan, and ample fees to the City to review the plan.  The DSSP is also reviewed slowly by two departments, thus it really can slow the overall building permit down.  You can't start building until the DSSP and BP are passed, so the wise builder gets on top of the DSSP immediately.  You also cannot apply for the DSSP until the DP is passed, so the timeline gets longer and longer.  The approved DP is needed because that plan shows features like roof drainage and landscaping, all essential components of the DSSP calculations.

I am going to show the DSSP over a few postings, starting with the general plan (an unapproved variety), discuss the costs, and eventually show some more of the detail in what actually goes into the DSSP.  Hopefully, and soon, we will be on site and show the installation of the various components from the property and into the street.

IMG_4391.JPG

Here is the overall DSSP drawing.  There is a lot of information on the page, all of it is important.  First thing to note is each circle is a manhole, these are expensive components.  The most expensive component is the box structure.  That is a very costly structure.  We will show these individually as the project progresses through the permitting stage.

Rosscarrock - has your time come?

Huge news for Rosscarrock.  I think we will look at this resurrected strip mall plus the mainstreets initiative as the two huge events that kickstarted the revival of Rosscarrock (and about time this community has a great location it just needs some investment). 


IMG_4388.PNG

This is great news that Calgary Cycle has chosen Rosscarrock. My last three new bikes have been purchased at the centre st location.   Hard to get to, zero parking, tiny shop.  This location is even on the west side.  

Rough Grades Complete

Now that the landscapers have finished the fences, installed the window wells, and pre-graded the site, we are ready to do all the concrete flatwork. This consists of the rear patio, front sidewalk, rear sidewalk, garage slab and apron.

Finding fill was greatly assisted by having a new basement starting just down the street.  They were looking to get rid of fill cheaply, and we were looking to get fill for free.  The 5-6 dump loads we took saved them 3-4 hours of trucking time, and we benefitted from the free clean fill, dumped exactly when and where we needed.

Having the grades adjusted properly will ideally keep the mud contained and dry quickly after it rains, rather than become a swamp.  We need to get the sidewalks done because in a few weeks our finished stucco coat can go on and we can finish the loam and sod.  A finished exterior will greatly assist in the sale of our final house.

This is the cleanest site we have had since the demolition was complete.  The site is ready for sidewalks, but we will wait until the stucco is done to prep and pour the front.

This is the cleanest site we have had since the demolition was complete.  The site is ready for sidewalks, but we will wait until the stucco is done to prep and pour the front.

This is a site with properly graded side yards.  Once these have had more time to settle we will add a final gravel layer.  Attempting to grow grass in the side yard is unlikely to be successful because it either dries out beside the wall …

This is a site with properly graded side yards.  Once these have had more time to settle we will add a final gravel layer.  Attempting to grow grass in the side yard is unlikely to be successful because it either dries out beside the wall or doesn't get any sun.    

Tile part 1

We start Monday off with tile delivery.   This is a big task on its own.  We are bringing 1000's of pounds of tile plus the thinset, tools, underpad and other supplies to get the prep work done.  The first job is usually loading the boxes of tile into whatever room in the house the tile needs to be.  In this case I have had my tile crew deliver most of the tile.  With three guys on hand they got the flat deck unloaded quickly.  In projects past I have delivered and sourced much of my own tile, in this project I happily 'unloaded' that task to the contractor.  This delivery was further soured by terrible access to the front door or each house.  We had active landscaping, garbage bins, and leftover material plus lots of mud making the delivery much worse that it might have been.  Generally we can back right up to the front door and shorten the round trip.  Crews having to work around each other is a by product of attempting to reduce the total project time and cost associated with a slow build.

Most of the floor and shower wall tile arrives on the flat deck, unfortunately we don't have a clear path to the front door to back the truck in.

Most of the floor and shower wall tile arrives on the flat deck, unfortunately we don't have a clear path to the front door to back the truck in.


I also met with the installer to go over tile layout in each room.  It looks like he will be starting in the master bathroom and working down.  His first job was to prepare the custom base for the master shower.  This is a job I am happy to have an experienced pro deal with, it takes considerable skill to do this properly. 


IMG_4373.JPG

Shower base is set and ready to dry  


IMG_4374.JPG

We are using the ditra underpayment for tile rather than additional plywood.  The extra cost is significant but the cost of problems with tiles is worse.  

The weekend that wasn't

Sunday felt a lot like Monday at the site. We've had countertops, fence building, landscaping, negotiating free dirt delivery (always a plus), painting and now finally stucco scratch coat, much of this didn't even start until Friday evening and carried on well into Sunday evening.  

The scratch coat is a site mixed sand and cement layer.  One of my favourite crews does this difficult and repetitive task.  Remember stucco work as a career option the next time you complain about your office politics.  Stucco is always worthy of a post or two all on its own to discuss the advantages and pitfalls of this product.  Another tip I have is to always have the shop prepare a 12x12 sample of the preferred acrylic stucco shade and a few alternates.  This is worth the small expense to avoid having to choose colour from a tiny chip or computer screen. I have been avoiding the acrylic stucco on styrofoam product, too many issues with the woodpecker coming along and destroying the finish.  

Given the warm forecast for the rest of the week, it looks like our stucco could be cured enough to apply the acrylic layer in a couple weeks.  This will be a relief as we need to get our sidewalks done and the scaffolding is completely in the way of that work.  The pace of construction is about to slow significantly now as we are into the tile phase.  More on this in our next post.


IMG_4360.JPG
Here is Sam doing what he does best, applying the smooth surface to the wet scratch coat.

Here is Sam doing what he does best, applying the smooth surface to the wet scratch coat.

What a difference paint makes

The lowest cost construction material (can of paint) seems to make the largest interior impact.   Particularly compared to the countertop.   

What happens is you become desensitized to the ugly primer colour and after a while sort of accepting of it. Then the walls are rolled all in one day and it transforms the open areas (in a good way).     


IMG_4354.JPG

He main floor is lightened back up to white  

IMG_4355.JPG

And the closet becomes white again.    

Quartz counter install

The kitchen shop was back on site installing the quartz countertop in the first house yesterday.  This, in combination with the drywall touchup and first coat of paint puts us right on schedule for tile to begin next week.  

Counter installation is a fairly expensive task.  A person can spend $50/sq ft on this material, and it was not too long ago a house in calgary could be purchased for $100/ sq ft.  It is hard to imagine how cheap housing was 20 years ago given the price just of one part of the project.

In addition to the stone, we need to install 7 undermount sinks in various locations.  Each needs to be cut and polished, so this adds cost as well.  In these inner city projects stone counters is basically a standard feature.  I prefer to use quartz over granite, but you see that material being used as well.  

When you hear about renovations where the kitchen cost is over $40k (and the kitchen isn't particularly impressive), I often wonder what the breakdown is on that cost.  There is no way that I could spend that much on a kitchen in a project of this value, even for all the bathroom cabinets, appliances, counters, tile, lighting, flooring, etc combined.  Renovation kitchens are obviously a lot more costly to tie in the new material to the old, but I'd still be hesitant for anyone to invest that much in a kitchen reno.  The cost of renovations is another reason I prefer new construction over dealing with old housing.  In the areas I work in old houses trade for land value so there is not much benefit to renovations (they will end up in the dumpster).

The kitchen is complete with three pieces of quartz.  The island is just over 8 ft long in this project.  That is big enough to get a sink cabinet, recycling area, dishwasher and bank of drawers.

The kitchen is complete with three pieces of quartz.  The island is just over 8 ft long in this project.  That is big enough to get a sink cabinet, recycling area, dishwasher and bank of drawers.

The master bathroom gets 2 of the 7 sinks we supplied to the kitchen shop.

The master bathroom gets 2 of the 7 sinks we supplied to the kitchen shop.

Dealing with Grades

When building in the inner city you encounter some situations that are almost guaranteed to cause you grief, this is just part of the project so there is no point in getting stressed out.  The problem is the shoddy practices of 50 years ago that have somehow lingered on until the present moment when you need to build your infill.

This manifests itself most often in grade issues.  The 80 year old house beside you was just built wrong.  It may have sunk in the mud or maybe the rest of the neighbourhood has grown up around it.  The issue is the houses on either side of your property are going to be too low, possibly even negative slope from the alley.  This suggests meltwater from the alley could flow toward, rather than away from the old house that is usually positioned in the middle of the lot.  

When building new you won't be allowed by the city to have negative drainage.  Nor would you want to because negative drainage is a practice that no sane builder would consider.  The problem is you are building between two negatively draining properties and when you adjust your grades it will create the appearance, among the neighbours, that you are somehow committing some injustice against them. And, of course, you should deal with their problems and fix everything because for some reason you owe them this improvement to their property.  

Your grades are going to need to be higher, likely at the rear of your foundation.   You may need to grade your property at the border of your neighbour at 2 ft or more above where the neighbour is just so your water will drain toward the lane.  This can create some conundrum in terms of how to have the elevation drop 2-3 ft at the border.  The solution is often to retain the soil on your side and you have multiple options here. The best may be just to use the new fence you are building anyway as a retaining structure. This is what we have done on the 41st project.  

In order to drain toward the alley, the grade must follow the angle of the lagging boards at the base of the fence, not the existing grade.  On the other side of the fence it will appear the fence is taller than it actually is.  This is a …

In order to drain toward the alley, the grade must follow the angle of the lagging boards at the base of the fence, not the existing grade.  On the other side of the fence it will appear the fence is taller than it actually is.  This is a feature you get permitted from the city so there can be no debate about its legitimacy.  Expect the neighbour to not appreciate the situation.  By building the fence on your side of the property line (and paying for it), you can resolve this situation.  

The job is pretty large so I hired a landscaping crew.  In years past there was simply no crews available.  You'd call around and nobody would be interested in quoting the work.  The recession has brought some benefits as I was able to get a skilled crew to start and meet my schedule.  Now I have a new and reliable crew to hire for future work.

Here is a crew with all the tools and skills to get the job done.  

Here is a crew with all the tools and skills to get the job done.  

Taping with Jiggi part 6

Jiggi and crew are back to deal with the first round of Touchups.  All the dents and gouges are patched over and sanded.  This is the surface that we want to roll the walls on for the first coat.   

They use a pigmented compound so that it is easier to see the imperfections in the walls. The crew has three guys and they work quick. Use of a bright light also highlights the spots to patch.  


IMG_4316.JPG

Jiggi is back and the patches are everywhere.  At this stage you always hope this is the last Touchup round (it won't be).  

Landscaping begins

With the mud drying out a little we were able to catch a landscaping contractor before he gets too busy this summer.  The first task is to start the fence.  The fence also acts partly as a retaining wall to allow us to adjust the grades according to our city approved grade slip. We need to adjust the grades at the rear of the site to ensure drainage.  After 50 years it seems like the old houses on this street have either sunk or the alley has lifted.   


IMG_4318.JPG

The black line is where we need to raise our grades to allow water to drain toward the alley.  


IMG_4324.JPG

And the neighbouring dog decided to bark all day at the crew.  

Woodwork, trim and door lacquer spray - is this an acceptable practice?

The spray crew is finished with the first house.  This is a much larger job than you'd think it would be, but if you add up the number of doors, shelves, window, baseboards, build ins, closets, etc there is a large area of woodwork that must be primed, touched up, and recoated.  The painting of the house is a fairly costly process and involves a lot more labour than material cost.  I am often surprised by how much the cost adds up to paint a complete house.

Fortunately the crew did a nice job and I was impressed with the product.  The lacquer is a necessary evil to get a hard and durable white finish on smooth woodwork (no brush strokes).  It is a toxic product before it is cured.  I believe that once cured, the material doesn't continuously leach volatile compounds into the air, but I can't be certain of this.  We don't want to be poisoning our new home owners with toxic substances in the house.  Of everything that is used in construction today, the lacquer is for sure the worst.  It would not surprise me at all if the government bans certain products from being sold for spray work in houses.  I'd be willing to accept a poorer finish in exchange for less harmful chemicals in the process. I am not sure the home buyers today are aware of this possible trade off, so it would be best if everyone operated with the same rules.  This may be a rare instance where government involvement in home building would be welcome.  Generally I am of the view the government involvement makes a lot more trouble than it solves. Perhaps outlawing some of the chemical products would protect people from themselves in such a way they are unable to do so on their own. 

No product compares to the white sprayed on lacquer for coating a built in.    

No product compares to the white sprayed on lacquer for coating a built in.    

The barn doors are disassembled to allow the doors to be sprayed and the walls eventually to be rolled.  The doors can't really be re-hung until the carpet or hardwood floor is done.  I find this an aggravating stage because it leads to do…

The barn doors are disassembled to allow the doors to be sprayed and the walls eventually to be rolled.  The doors can't really be re-hung until the carpet or hardwood floor is done.  I find this an aggravating stage because it leads to doors and shelves being stacked randomly all over the house.