I'm willing to deal with 'problem properties'

The house was rough but livable, I met the owner at the property a few times last year. He agreed to rent the house back from me after the close. I changed the close date to be earlier than I wanted because he was going to run out of money and the utilities were all being cut off.  At that point he was looking at being left homeless and without any income. 

I let him stay in the house for free for six months.  I figured at least this would mean I wouldn't have to shovel snow or pay utilities.  Eventually he got sick and was involved in some ugly family issues. He vacated unexpectedly and some members of his family sold all the house furnishings and pretty much left junk everywhere. Eventually the neighbour complained and I had to clean up the yard.

These are the type of properties I can buy. In doing so, I provide a service other people wouldn't do.  I sort of get bothered by the attitude you find in some community associations about builders, including my own.  There is a common view that the builder ruins community character and offers little benefit. The community association wouldn't do a thing to help this person out - I wrote a huge cheque for the land and had to deal with the aftermath. 

If you know of someone in this type of situation you may need to contact a cash home buyer. They can make some of the problems go away by paying a fair price without conditions for a house.  The market is good right now for sellers.  It is harder to find people willing to sell than it was last year and prices are up. 

IMG_4175.JPG

This nasty pile of junk is gone, moved temporarily into the garage.  When we do the demolition it will all get hauled to the landfill.  The landfill is the builders best friend when dealing with low value trash.

Vagrancy issues

The state one of the properties I bought last year has finally gotten bad enough my neighbour is calling to request I clean it up.  It looks like a trash heap that's for sure. I've got some time tomorrow to deal with it. My plan is to move all this crap into the garage.  When the excavator comes he can haul it away. The inside of the house isn't much better. A cat was living there and someone was feeding it. Eventually the cat perished and it remains in the basement.  This was ok during winter but I don't plan on going back inside again.  Allowing people to salvage valuables from the house has been a real waste of my time. I need to get this place bulldozed soon.   


IMG_4176.JPG

The yard isn't in great shape. I was going to rent this house but I was only able to have that cat as the tenant and it used the house as a litter box. Time to get another demolition quote. 

Finishing begins

With the arrival of the material we can announce for certain that finishing is ready to begin.  Since I have the schedule organized pretty tight we don't have many days to lose. The finishing trades can get busy quick and I know this is looking to be a busy year.   I need to ensure my site is ready when the trades have space allocated. 

IMG_4173.JPG

The stack of doors is ready to go.  Umar and his crew are going to have to work hard to meet my schedule.  I am pretty confident, those guys like to work.

Attic insulation

The drywall crew was back for one more job, blowing the loose fill insulation into the attic cavity.  We are putting at least r40 in there, the new code is requiring r50, so we will be very close to what that depth of fill is.

Tomorrow we are accepting delivery of the finishing package, and more exterior work is planned for the front of the building.  The schedule is proceeding nicely almost with a momentum of its own creation.  Sounds like time for me to update the schedule and predict more accurately when I will need the tile!

Jiggi is a multitalented guy.  Here he is running the blow in machine.

Jiggi is a multitalented guy.  Here he is running the blow in machine.

The loose fill insulation is now installed into the attic cavity. 

The loose fill insulation is now installed into the attic cavity. 

Picking paint is painful

Every project I attempt to find the ideal shade of paint. The task seems to be getting no easier.  For the semi I have collected many sampled, brought them to the houses and viewed them again in the actual light of the room they will be used in. 

Too white, too dark, too beige, too yellow etc.  I may have it narrowed down now to a handful.  In this situation buying a small sample may be worth doing.  This is a smarter choice than buying 5 gallon pails and deciding it isn't going to work  


IMG_4157.JPG

Narrowing down the paint selection to a handful from a lot... 

Wall Prime

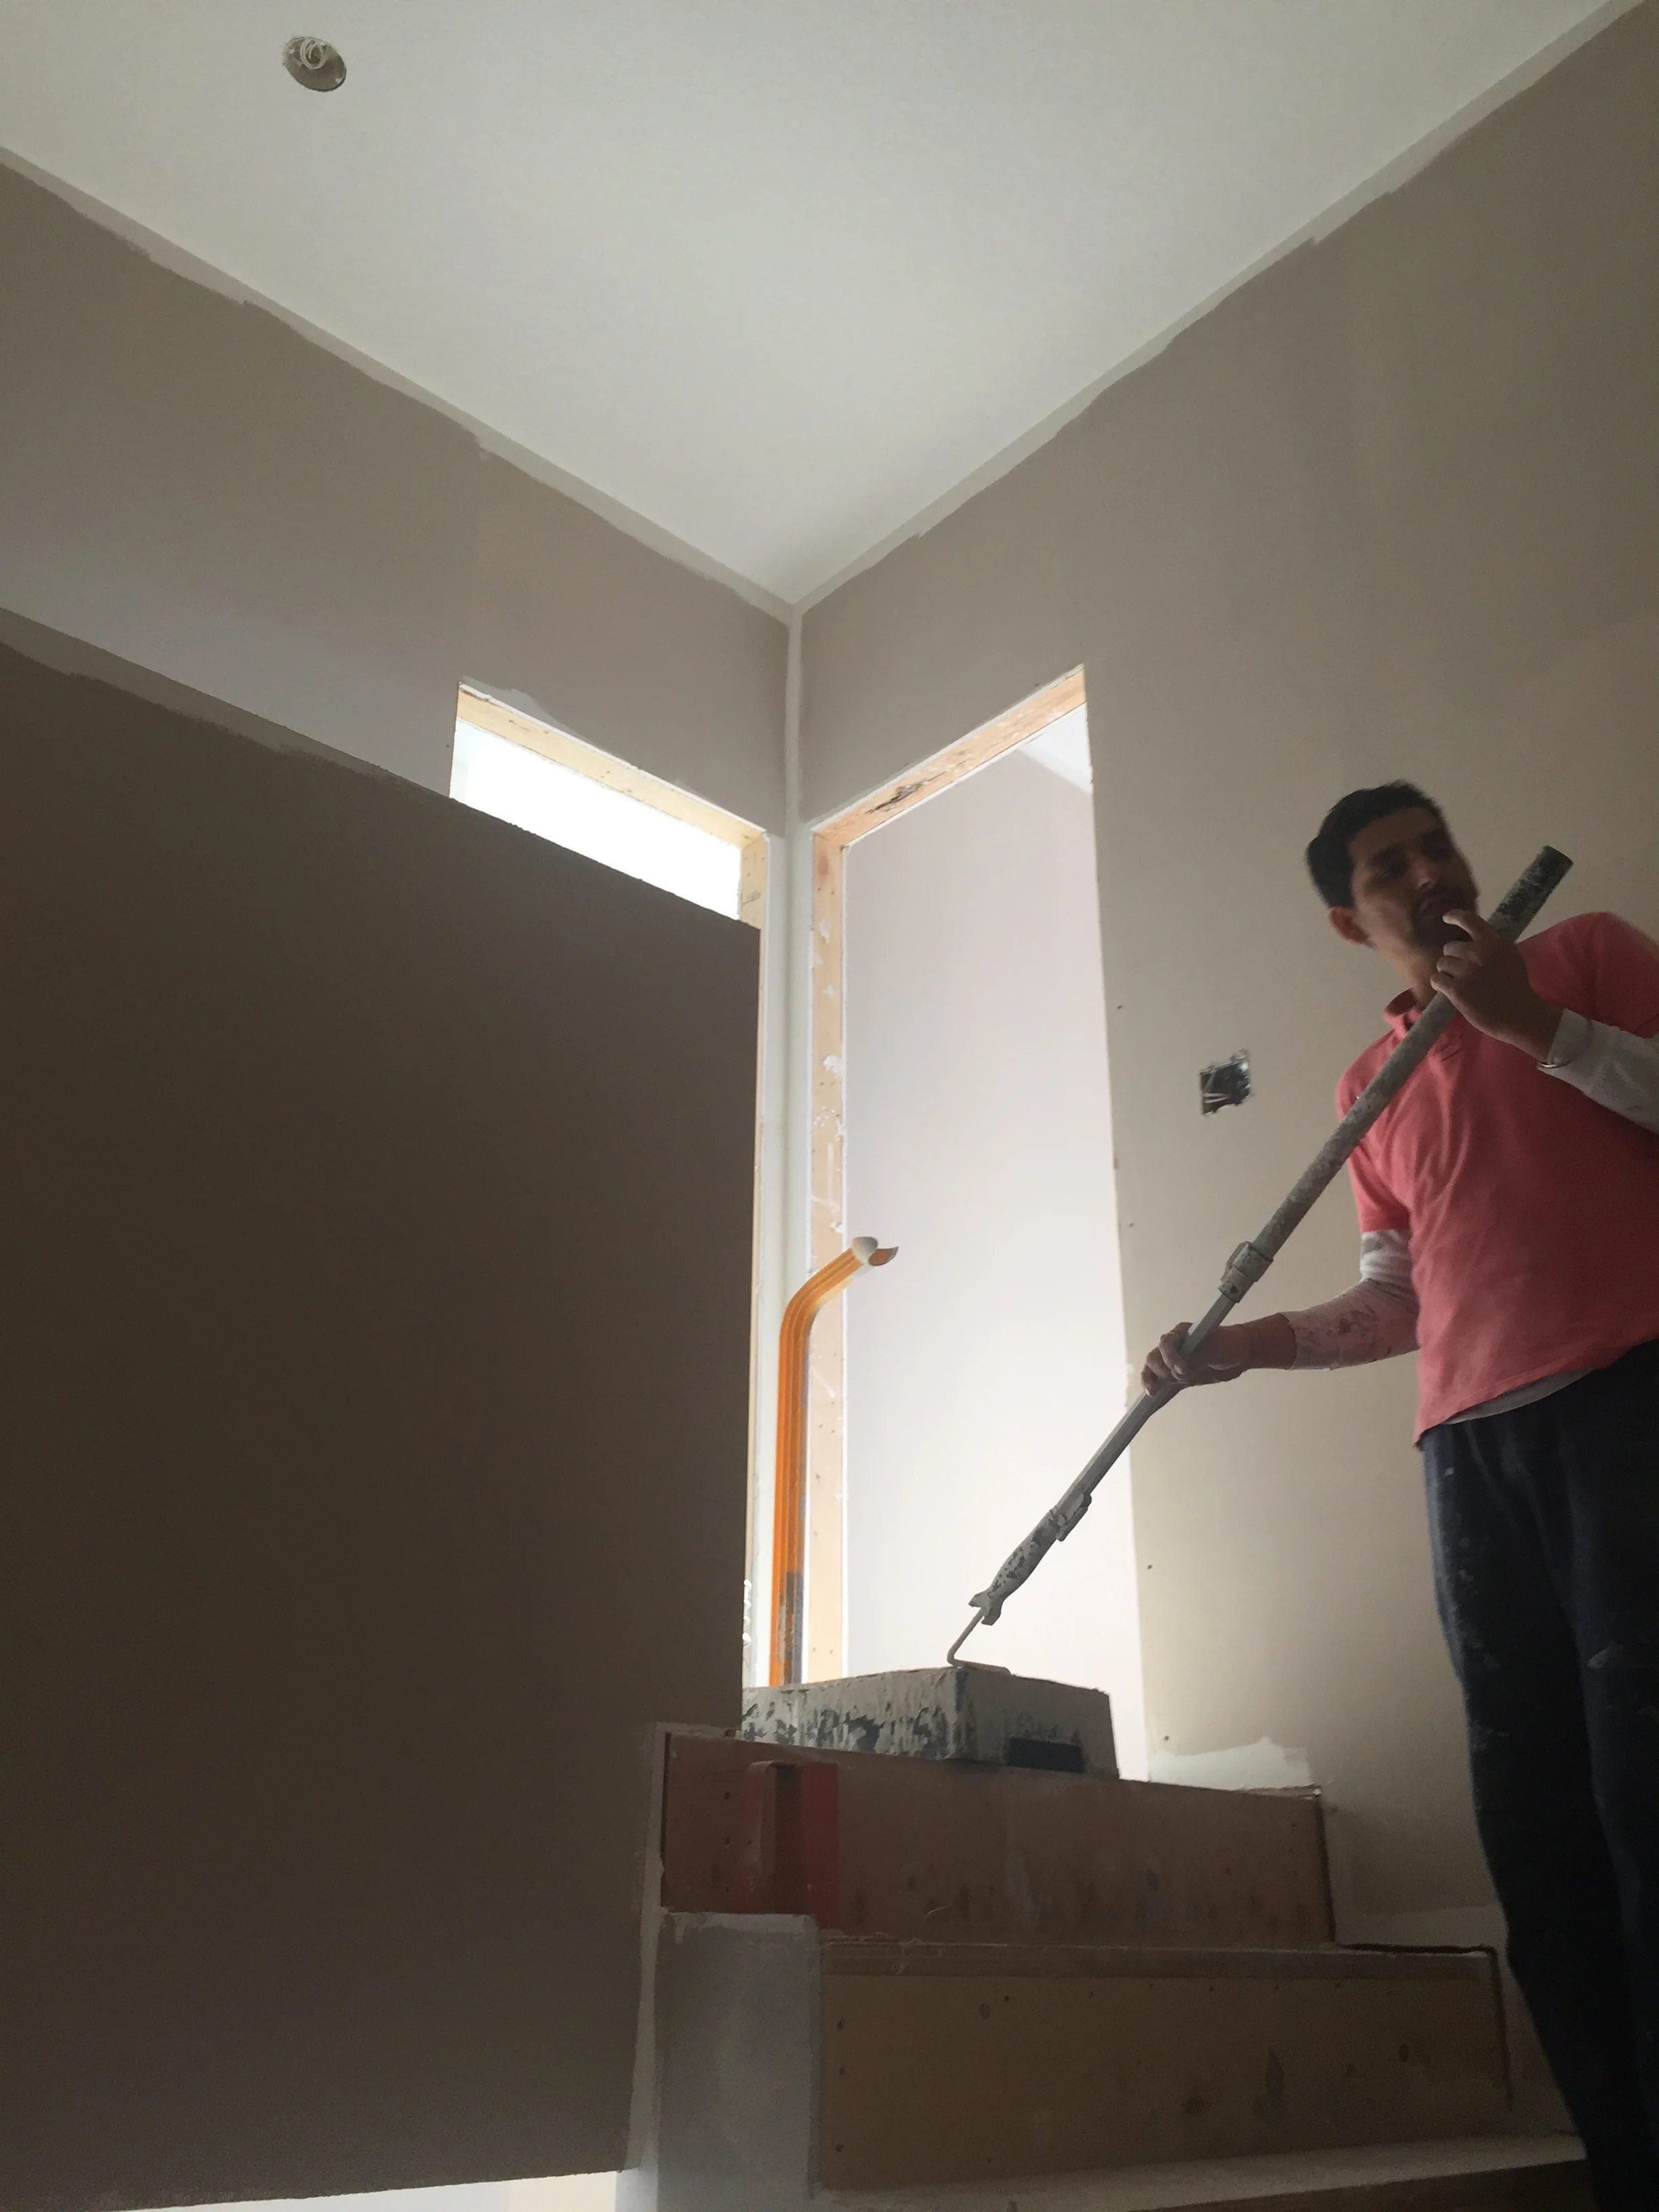
The painters were in early today making best use of the sunny Calgary spring to prime the walls. They use a medium dark primer that best highlights drywall defects.   After the finishers do the doors and trim work the walls can take a bit of a beating. We do the first Touchup after the finishing stage.  


IMG_4153.JPG

The paint crew is priming the walls in both houses today.  

$43,738

'EVERYTHING IS NEW' - boldly claims the listing description.  If so, then obviously the builder of the house is remitting the GST to the Canada Revenue Agency as I do when I sell a house.  You simply take the purchase price and divide by 1.05, that gives you the portion of the sale that goes right to the government, this is a big number today given the high cost of homes.  Or is there a way to get out of this costly tax....

In a recent blog post linked here:

http://www.integerhomes.com/blog/2017/3/10/gst-fraud-in-the-renovation-industry

I provided some fairly definitive evidence on how the builder featured in the Kilkenny listing down the street from my house was either intentionally, or (unlikely), unintentionally evading the GST on a 'deemed' new house renovation project, and the selling agent had zero clue about tax rules related to this transaction.  Now that the house appears sold, we can figure out how much tax the builder is not paying the Feds.  By my estimate, the number is $43,738. 

A bothersome issue is both realtors party to this transaction are benefiting by earning a commission on the tax portion of the sale, ($43k).  In a proper transaction, the realtors would have a commission calculated based on the after tax, not pre tax portion of the sale.  The realtors together may be receiving an extra $1312 in payment thanks to the builder not reporting the tax.  I believe this makes the realtors complicit in this matter, they are supposed to be professionals, they have a supposed code of conduct, yet they don't know, or don't want to know the rules regarding GST on new houses.  They'd prefer to collect a percentage on the entire deal, knowing that if the builder actually had to pay the GST as per the tax rules, they'd not only receive less, but the entire deal would be in jeopardy because the GST is such a punitive measure that would destroy the business model of the renovator (he'd lose 5% of his entire deal value, and that $43k could be a large portion of the profit).

I've asked a Real Estate Practice Advisor with the Real Estate Council of Alberta (RECA) for a comment on this transaction.  I provided the relevant documents to him, and will follow up now that we can identify exactly what GST is not being paid.  I am trying to get the scope of his comments to be narrowed to something that is truly in the jurisdiction of the RECA.  I am not asking RECA to rule on if this house is 'deemed' to be new by passing the 90% test of substantial renovation.  We know this is a fact.  My question is distilled down to just the commission issue.  RECA - is it acceptable that a realtor is accepting a commission paid on the portion of the sale that should be remitted to CRA as GST on the proceeds of the sale?  Upon review of the fine print related to the RECA mandate, it appears it considers transactions outside of its jurisdiction. Who knows if RECA will be able to give me any meaningful answer to my questions about the GST evasion.

It will be interesting to see what the response is from RECA.  There is no way this RECA organization would be quoted that realtors under its supervision should receive a commission of over $1300 on the GST portion of a sale that is incorrectly calculated to be zero when it should be over $43k.  I think what they will say, is that the builder should be responsible for calculating the GST.  If the builder calculates the GST incorrectly, then that means for sure the commission on the deal would be wrong.  If RECA responds in such a way, I will reply back as follows;

  • the realtor must advise the client that GST must be paid on this type of transaction otherwise the realtor is not performing as a professional  
  • the realtor cannot remain silent in a case where they are the benefactor of an unearned commission - that violates the code of ethics (by knowing that the GST must be paid, but accepting a commission on the GST portion of the sale anyway)
  • Once the builder is eventually caught for evading GST, will the realtor be forced to repay unearned commission?  Essentially the realtor is in possession of money owned by the Government.  

This is an interesting case because this renovation is so definitively a case where it exceeds any threshold a reasonable person would have to re-classify the house as new, and we know that the CRA has a lower hurdle than a reasonable person does on this topic.  The realtor as much as spells this out in all capital letters in the listing.  'EVERYTHING IS NEW', well if so send a cheque to the government for over $43k...


Shaganappi Fourplex is ready to submit

The land I purchased last year in Shaganappi on 32 St. has been subject to a fairly lengthy design process.  Somehow the revisions of the design seemed to drag on and on and we continuously encountered tricky details to overcome.  Now, basically my end of the design phase is finished.  We get to submit it to City Hall and see what happens.  This is what I'd classify as a big time discretionary process vs. a single detached or semi detached project.

We made the plans to the absolute best of our ability, and within many (or most) of the requirements, but we undoubtedly are going to get some lengthy feedback from the planning department.  The first real feedback you get from the City is in the form of a 'detailed team review (DTR)'. It is hard to predict what will be contained in the DTR, but it will be guaranteed to be long.

The last DTR I received was for a threeplex, it was about 12 pages long, and highly intimidating to the applicant.  It always seems like the worst report card you got in school.  Anyway we distilled the DTR down, all 12 pages of it, into about 4 comments that needed addressing to allow us to proceed.  This is part of what I call the 'madness' of City Hall.  Based on the DTR you generally encounter some unexpected stuff to overcome, but the strange part is the presentation. You'd think the City doesn't want you to build based on the DTR.  You'd assume that the City is not the biggest beneficiary of the DP process that leads to building (it is).  Once built, the City will receive a massive tax windfall in perpetuity, all kinds of fees that ratchet up every year for no good reason, and meaningful work to keep the bureaucracy spinning along and all the staff gainfully employed.

One of these days I will post a DTR so the general public can see what it is like to try and get a project approved in Calgary.  Until then, here is a screen shot of some of the work that has gone into my fourplex.  

Far to much detail here to show in a blog post. We may need to make a website just for the construction and sale of the four townhouses.  

Far to much detail here to show in a blog post. We may need to make a website just for the construction and sale of the four townhouses.  


Taping With Jiggi Part 5: Ceiling Texture

We have come to the end of the taping project, as far as what we can show in photos.  The skim coat is complete and the walls are ready to get a final sand. The final sand will not be done until after the ceiling texture is complete (this can be a messy process, drips, overspray, etc).

The first side is getting textured today, the second side the day or two after the first.  With this done and the sanding ready to go we can get the walls primed, then the interior door and trim package sent out (next week).  

The 'lo cost texture' van arrives, fortunately they selected the front yard to back the van in rather than the mud of the rear.  This is a three man crew and they work fast.  These speciality services tend to be the quickest in and out job…

The 'lo cost texture' van arrives, fortunately they selected the front yard to back the van in rather than the mud of the rear.  This is a three man crew and they work fast.  These speciality services tend to be the quickest in and out jobs.  Not a lot of creativity in the company name other than the spelling of 'low', but we are happy to see them anyway.

They drape the house with a masking roll and light poly.  This keeps all the mess of overspray off the walls.  The first step is to spray the ceiling with a priming paint.  Next they will spray on a heavier texture material and trowel…

They drape the house with a masking roll and light poly.  This keeps all the mess of overspray off the walls.  The first step is to spray the ceiling with a priming paint.  Next they will spray on a heavier texture material and trowel it down, thus the name 'knock down'.  This replaced the old popcorn ceiling texture that has become very unfashionable.  

And here is the finished product.  

And here is the finished product.  

I won't be collecting any more texture photos or shots of the guys sanding walls.  A 5 part series on drywall is likely enough to bore all the blog readers.  Next week we can move on to some more interesting topics.  

Another Semi Detached Project

I am currently in the very early planning stage of a new project.  Looks like I will be building a semi detached project on 26a St SW.  This is another great Killarney location.  This will be a great follow up project to my 41 St semi.

Here it is - the next semi detached project site.  We may be able to start this in the late summer  (if all goes well with the planning).

Here it is - the next semi detached project site.  We may be able to start this in the late summer  (if all goes well with the planning).


Taping with Jiggi Part 4: Second Coat and Ceiling Corners

Jiggi and crew is working on the second coat of drywall compound, this is being applied to all the ceiling and wall joints, and the outside corners get their final coat.  Prior to adding compound to the walls, they gave a quick sand to the walls to smooth the dried areas.  They also use a long tube like tool to add compound to the outside corner, and a second pass is used with the flexible angle tool to finish the corner.

This tool is applying an even layer of compound to the outside corner

This tool is applying an even layer of compound to the outside corner

This corner has a thick layer of compound applied.  It will be spread using the angle tool, and this finishes the corner.

This corner has a thick layer of compound applied.  It will be spread using the angle tool, and this finishes the corner.

This wall has recently received the second coat on the corners and joints.  The middle joint is troweled with increasing sized trowels, from 10 to 12 inches.  This feathers the joint out more so it doesnt have a bump.  This will get a…

This wall has recently received the second coat on the corners and joints.  The middle joint is troweled with increasing sized trowels, from 10 to 12 inches.  This feathers the joint out more so it doesnt have a bump.  This will get a third coat, the skim coat after it is dry.  The ceiling will not get another coat because we are using a knockdown finish, rather than a level 5 painted finish on this house.

Jiggi has to do the ceilings so he is strapping the stilts back on. Jiggi says he will be done by monday, so we can book our painting crew to prime the finished walls.

Jiggi has to do the ceilings so he is strapping the stilts back on. Jiggi says he will be done by monday, so we can book our painting crew to prime the finished walls.

Comments on the insanity of City hall

In a recent post, I discussed how I was threatened with a $10-14k bill from the roads department at City hall regarding damage to the alley behind my project.  While I could accept a minority of the blame here, based on bad judgement of my contractor driving down a soggy alley at a time they should have been more careful, the City over reaction is so typical of how it operates.

For example, the majority of heavy traffic in an alley is the City owned garage and recycling trucks, plus lighter traffic from residents. The alley was susceptible to rutting because the gas company has to dig a couple huge holes in the middle of it to expose the gas lines.  

I had some heavy equipment in the alley, but this was when the street was solid with frost, so no damage was done (hauling out waste bins, etc).  I won't have any more traffic in the alley until we put the garage in from here on - we have very few deliveries left that can't be from the front.

While the City cost to operate is so bizarrely inflated, it gives insight into how it functions.  The City runs an operation with little regard to cost or value.  It is a very blunt instrument.  It seems like it will take any possible avenue to bill (exploit) as much as possible in an arbitrary way if they can find someone to blame, and bill.  The best way to avoid this is to stay as far from any dealing with the City as possible.  If the City would spend $14k to fix ruts in an alley (needing, graders, loaders, material, labourers, signage, street closures, managers, an engineering bill, etc), you wonder how much other routine City business must cost.  No sane person would think fixing a few ruts in the spring time in an alley could cost that much.

One factor here is how crazy it is to blame someone for damage, but then not allow them to fix it.  It is against the bylaw to operate on City property.  The alley is a City owned property, so only specially certified contractors are allowed to work on it.  So on the one hand the City is saying you need to fix the alley, yet at the same time the alley is not allowed to be fixed.  

At this point we went ahead and fixed the alley despite concern that fixing it could be worse somehow.  Maybe the City would come back and say the wrong type of crushed material was used and it needs removed (we used 25 mm road crush as we were told).  Or the City will decide to come and fix it anyway, even though it is already dealt with.  

A lot of this issue was created by the neighbours who like to complain about everything.  If the complaints cease now that the alley is fixed, it is unlikely anyone from the City will make further trouble.  Let's hope this is the end of the issue and we can move on with our work on the inside of the house.

The gravel truck departs and the alley is patched up looking better than it has in years. I am hopeful the nightmare of alley damage and restoration is over and my bill will be reasonable (delivery of road crush and bobcat time).

The gravel truck departs and the alley is patched up looking better than it has in years. I am hopeful the nightmare of alley damage and restoration is over and my bill will be reasonable (delivery of road crush and bobcat time).


Managing away potential disasters

With the spring thaw, the alley is getting muddy and rutted.  Cutting into the alley to install gas lines doesn't help, the areas the gas was excavated and re-compacted has become soft. The neighbours like to call the city and complain, they are very good at this.  The city inspector came by and suggested that if the city has to fix the alley they would run up a bill in the region of $10-14,000 to 're-engineer' and compact the alley, bring in loaders and graders, etc.  

Ideally they'd blame me for this and send a bill.  I have no intention of being held responsible for this, nor is that cost reasonable to grade the alley and lay some gravel.  My case wasn't helped by some really bad judgement of the siding crew.  While the city crew was visiting the city the cube van was stuck in the mud in the back yard.  What sort of judgement is involved in parking on a muddy thawing yard in a huge rear wheel drive van. 'Was OK on saturday' was the response. You can't manage everything in this business, but we will be banning anyone from the rear yard from now until it dries out.

This is what not do do in the spring.  This truck has no business being in the alley.  Fortunately another builder had the bobcat down the street and pushed the van out.

This is what not do do in the spring.  This truck has no business being in the alley.  Fortunately another builder had the bobcat down the street and pushed the van out.

Taping with Jiggi Part 3: Coating the walls

Jiggi is back on his stilts coating the walls and ceiling.  He has a large trowel in hand, and a hawk (this is a flat surface to hold the compound).  The hawk doesnt hold a lot of compound so he loads it frequently.  Unless you have tried to fill joints, you may not appreciate how hard it is to do properly.  

This is the drywall hawk.  What a strange name for a tool.  

This is the drywall hawk.  What a strange name for a tool.  

Jiggi  is evenly spreading compound using the finishing trowel.  Not sure what size he is using, could be 12 -14 inches. This is where the skilled hands show off their work.  This task is a lot harder than it looks, and needs to be re…

Jiggi  is evenly spreading compound using the finishing trowel.  Not sure what size he is using, could be 12 -14 inches. This is where the skilled hands show off their work.  This task is a lot harder than it looks, and needs to be repeated countless times to fill every joint.

As we approach the finish surface that we can paint, it is possible to see how much compound is applied to the wall.  The upper half is wet, having just been troweled on.  The lower half of the wall is an exposed corner bead. The wide coat…

As we approach the finish surface that we can paint, it is possible to see how much compound is applied to the wall.  The upper half is wet, having just been troweled on.  The lower half of the wall is an exposed corner bead. The wide coat of the wet compound feathers out the edge making for a very nicely finished smooth wall.  

Jiggi and crew promise to be done this week.  I think this is an ambitious schedule, because they need to do a second coat and sand of the walls, plus the ceiling texture can't start until they are finished.  They have booked the ceiling texture crew for friday and saturday, so it must mean they are serious about having the job done.  The next step is priming the walls, and we had another crew to do this.

Management determines pace of construction - buyer beware!

I have been monitoring a few other inner city building projects that started last year, around the time I began my semi detached project.  At the time I was really aggravated because my bad management jeopardized my schedule:

  • My lumber yard was late delivering my footing package - so my footing crew showed up and did not have enough material to finish the job. This delayed my footing since the crew left and did another job (the one shown in the photo below). This was my mistake for not getting the package delivered sooner.
  • The pour was jeopardized due to the cold just because of this small delay.  With a very cold weather coming we were barely able to get the foundation poured in time (Dec. 2).  The delay of the lumber yard could have cost me two weeks delay as it became -20C outside, way too cold to pour.
  • I was able to get my cribbing company owner to tell the concrete company to pour my basement footing as a rush job, and this was successful thanks to the leverage he had being a huge customer of that concrete plant.  With the footing poured the cribbing crew put up the walls and we poured two days before the cold snap hit.  By the time the weather arrived, my water proofing was applied to the foundation and we could inspect and backfill, and get the framing material ordered.  We started framing Dec. 20th, before the project shown below even had its walls poured.

Now, almost four months later, we see where that project is in terms of progress:

This project was excavated and footing poured the same day as mine (Nov. 22).  It is mostly framed, and the windows and roof are going on.

This project was excavated and footing poured the same day as mine (Nov. 22).  It is mostly framed, and the windows and roof are going on.

My project will have the drywall taped at the end of the week, ready for ceiling texture and sanding the walls for priming. The furnace is operating, water and sewer is connected, the siding and stucco is being prepped (house is waterproofed in case of rain), and we are nearly ready to start interior carpentry (doors, trim etc).  In addition to the progress, we have half the project sold and a completion date we are working toward.  The project that started the same day as mine has yet to do plumbing, mechanical, or electrical.  All of this means that job is about two months behind mine - if it was progressing the same pace as mine has. More than likely this job is 2-3 months behind and growing further behind each day.  The cost of this is significant to either the builder, or maybe these are sold houses and the client is funding the carrying cost.  The cost to carry the project is substantial:

  • Cost of capital - there is an investment of at least $700k in that project to date, mainly land, foundation, and lumber, someone is incurring the cost to finance that money or it is a big opportunity cost to have that money used unproductively - about $3000/month (at 5%).  If there was a high rate construction mortgage attached to the project, the interest could be vastly more. Many of these projects are leveraged using high cost private financing.
  • Cost of site services - there is an electrical bill, fencing, toilet rental at a minimum with monthly fees. This is likely over $300/month
  • Cost of property tax - at this point the City has likely re assessed the project upwards, likely the June property tax lump sum will need to be paid and be about $4500. This is another $357/month that the owner must pay (and in return benefit from zero city services)
  • Cost of insurance - the builder is paying construction insurance, this could be another $400/month.
  • Finally, the frustration of watching a project go nowhere, $ value priceless.  

So the project above is costing someone $4000/month ($133/day or $5.55/hour 24/7), plus delaying the move in date significantly (perhaps the future owner is paying rent at another $2000/month while watching his home not be built),  and it is either being mismanaged on their behalf by the builder, or the building company is incurring this cost and will suffer from reduced profitability when they eventually do complete and sell the project.  I would be furious is this was a project I was paying for and in addition to the carrying cost I was paying a management fee to the builder.  That would be an awful position to be in, having a builder collecting a management fee from a client (could be 12.5-15% for this work), and watching as the pace of progress is totally unacceptable. If I was in that position I could probably quit my day job and save my salary by actually managing my house project effectively by firing the contractor.  

This is such a common issue in the inner city vs. the suburban tract builder business practices. The suburban builder will do possibly hundreds of homes per year, with that volume they can't possibly be working slowly.  Yet in the inner city, most builders only do a few houses per year, and they are much less professional in their approach (as shown above).  There is literally zero reason for managing a project as badly as the above project is being managed other than total incompetence.  I guess it is possible the builder just wants to build slowly, or is occupied elsewhere in another project, or just doesnt care about the cost of slow building.  I often wonder how someone has the resources to tackle a $1.5M project, but not the ability to manage the project.  How do you generate $1.5M in financial capacity, yet undermine your own business by working so slowly such that the monthly carrying cost grows to such a significance to absorb most of the potential profit before the houses are even sold.

Unfortunately, at the beginning of a job the client can't possibly know how well it will be managed by the builder.  I recommend a potential client ask for references from the builders' trades, rather than just the home owner clients.  The trades know a lot more about how a builder operates than clients.  If the trades view the builder as competent, that suggests the project runs smoothly, schedules are kept, and mistakes are minimized.  

What project would you rather be a client of? This one, with the plumbing, electrical, mechanical, inspections, insulation and drywall finished, with the heat on, plugs energized so trades can plug in anywhere in the house to run tools, exterior sea…

What project would you rather be a client of? This one, with the plumbing, electrical, mechanical, inspections, insulation and drywall finished, with the heat on, plugs energized so trades can plug in anywhere in the house to run tools, exterior sealed up against the elements, and the kitchen, flooring and tile all ordered and organized, or the house pictured above, where the interior work hasn't even started, and the windows are not all installed, even though both basement footing were poured on the same day (Nov. 29)?  

I will drive by the project shown above in a month or two, and update on its progress.  Once I finish my houses, and have an occupancy certificate I will monitor how much longer it takes to reach completion. Then I will estimate the carrying cost for the difference between my completion date, and that of the project that started the same day as mine.   

Taping with Jiggi part 2: Corner Beads

Jiggi and crew have the tapes (flat tapes on joints, inside corner tapes on ceiling joint) on both homes (as of yesterday), so they are now starting the second stage that is placing the beads on the outside corners.

The process starts by applying compound to the inside of the corner bead.  this will essentially glue it to the corner.  The corner bead is applied by hand to the wall.

Here Jiggi has just placed the bead on the wall.  Because it has quite a bit of mud in it, it sticks to the wall

Here Jiggi has just placed the bead on the wall.  Because it has quite a bit of mud in it, it sticks to the wall

This tool is used to compress the bead to the corner.  This is a really important step to getting sharp, perfect corners.

This tool is used to compress the bead to the corner.  This is a really important step to getting sharp, perfect corners.

Here we can see Jiggi running the corner roller.  This will squeeze out the excess compound and it will be troweled away so the corner can dry

Jiggi applies a lot of pressure and this compresses the corner bead very nicely to the wall. The corner bead has a metal edge and is slightly raised, this creates a pocket to apply compound later to fill it up.  The corner needs a lot of compou…

Jiggi applies a lot of pressure and this compresses the corner bead very nicely to the wall. The corner bead has a metal edge and is slightly raised, this creates a pocket to apply compound later to fill it up.  The corner needs a lot of compound to spread the joint and provide a greater illusion of squareness.

With the beads all done and both houses drying quickly, they can start the step called filling the walls. This is the first coat that will cover every tape and bead joint in the project.  They have had a large number of boxes of compound delivered to site, no doubt they will be mixing the compound and coating the walls very soon.

Taping with Jiggi Part 1: Jiggi is an exceptional taper

The guys are taping this week, and they move quick, faster than my cell phone can capture their work in progress.  Jiggi is a great taper, and so is his partner JP.  Once the board is up the taping begins as shown below:

Jiggi is loading a bucket fastened to his waste with tapes covered in compound.  Jiggi needs a lot of tape because he is going to apply the tape to as many joints as possible.  Note his stilts, he will be doing the inside ceiling corners f…

Jiggi is loading a bucket fastened to his waste with tapes covered in compound.  Jiggi needs a lot of tape because he is going to apply the tape to as many joints as possible.  Note his stilts, he will be doing the inside ceiling corners first.  He even has a garage bag outfit to protect him from the mud that will be dripping everywhere.

Jiggi is applying the tapes to the inside corners in the entire room.  His movements show how efficient he works.  The entire room is taped in a  few minutes. He wont tape anything below his waste, his partner will be doing the lower …

Jiggi is applying the tapes to the inside corners in the entire room.  His movements show how efficient he works.  The entire room is taped in a  few minutes. He wont tape anything below his waste, his partner will be doing the lower joints.

JP comes after Jiggi with an angled roller tool.  This sharpened wheel compresses the hand taped material into the corner

JP comes after Jiggi with an angled roller tool.  This sharpened wheel compresses the hand taped material into the corner

JP is running the tool.  the next step will be to spread the compound because this tool leaves extra compound squeezed into the edges of the tape

JP is running the tool.  the next step will be to spread the compound because this tool leaves extra compound squeezed into the edges of the tape

In this photo half of the tape is spread and the other half has yet to be spread.  you can see the compound is squeezed onto the ceiling and the wall on the left side, right side is clean

In this photo half of the tape is spread and the other half has yet to be spread.  you can see the compound is squeezed onto the ceiling and the wall on the left side, right side is clean

this tool is the angle trowel. it is spring loaded to it mimics the shape of the corner, not ever corner is 90 degrees.  This is a fairly expensive tool, but you can't really see it when covered with compound.  

this tool is the angle trowel. it is spring loaded to it mimics the shape of the corner, not ever corner is 90 degrees.  This is a fairly expensive tool, but you can't really see it when covered with compound.  

JP is reloading the tape dispenser. They just finished a full roll.

JP is reloading the tape dispenser. They just finished a full roll.

All of the tapes are now on except the outside corners.  These will be done next. Then the joints get a first coat with the trowel.

All of the tapes are now on except the outside corners.  These will be done next. Then the joints get a first coat with the trowel.

The tools make all the difference here. These tapes can be applied by hand and smoothed with a trowel, but in particular the outside corners do not go on as tight, and the inside corners will not be as straight.  If the taping crew does not have these tools you are unlikely to get a good product, I would not hire anyone without the tools.  The speed is another factor, it is not just great work it is fast too.  With the pace of the tapes being applied, they can get to the coating stage, this needs more time to dry because the compound goes on over a larger area.  None of this work can be done without heat, this is why we were in such a rush to get electricity and gas connected throughout.  Anything that takes days off the job is a bonus right now as it gives me the time I need to get the finishing contracts finalized.      

Finalizing the interior details and remaining schedule

After significant hunting among my suppliers for the last few finishing details, I have been able to put it all together into a great design palette that will work very well for my duplex project.  The trick here is to put it all together and try and stick with a budget.  Tile in particular can be extravagantly pricey when you add the labour and setting materials.  

This semi-detached project has some large tiled areas, so we are using some neutral light grey tile, and combined with an oak floor, darker walnut style cabinets, and white quartz counters makes for a timeless looking package that can suit many colours of paint and furnishings.

With the drywall project half done, it is time to really go back and take a hard look at the schedule.  I have two unrelated jobs running now, the exterior work and the interior.  The exterior needs to be tackled in such a way that I can get the garage done in time (can't start until frost is gone from the ground), landscaping, and all exterior material (stucco, siding) for the first owners to move in.  

The interior work is moving along well, but I have yet to tie down a finishing package and the cabinetry production date. This should be organized no later than the end of the week.  Once I redo my schedule I will post how it looks over the next month or so.


This is the complete collection of material I am combining into a cohesive final product.

This is the complete collection of material I am combining into a cohesive final product.

Drywall Progress

The crew has been hard at work hanging the board, taping begins tomorrow.  Hanging drywall in a 2000 sq ft house, plus basement, is a really tough job.  It works a lot of muscles that don't tend to be used, especially when doing the ceiling.  Having 10 ft ceilings makes it that much harder to do.  A good drywall crew can hang a tremendous amount of board in a single day, but it wears out their bodies from the repetitive motions.

To do the two houses we have under construction has been about a nine day job for both.  The taping will be orchestrated a little differently, because of drying time.  The crew I am using is really fast when it comes to taping.  I have always found taping to really transform the interior of a house from a hodge podge of small pieces into a continuous product. 


The board is hung and the debris tossed in the bin. I have a bin in the back jus for drywall scrap.  There isn't a better way to deal with it.  A bin containing mostly drywall is actually recycled.  This is a much better way to deal w…

The board is hung and the debris tossed in the bin. I have a bin in the back jus for drywall scrap.  There isn't a better way to deal with it.  A bin containing mostly drywall is actually recycled.  This is a much better way to deal with the waste than dumping in the landfill, plus the tipping fee is lower on clean drywall.  

How you know it is Friday night on the jobsite

Because everyone leaves and decides either the fence should be left open ???? or someone else will close it behind them (even the last person to leave uses this as an excuse). Which of course never happens. So the builder gets to walk through the mud and put the fence back together.  

There is a legend among builders of a builder who was fined $10000 by the city for leaving a fence open or not having a fence while the stucco crew was working.  So based on this absurd punishment for fence management I'm constantly aggravated by these types of problems on site.  The trend today is for the trades to focus on just their part of the work and if it ends up causing problems for other stages of construction, that is ok.  Even better trades can fall into this narrow perspective on the project.  For this reason,  each contract I make has fence management as one of the terms. Perhaps it needs a cash penalty for failure to comply?  Maybe then we'd see a little more cooperation with closing the gate...


IMG_4052.JPG

Not surprisingly the muddier the yard the less likely the person who opened the gate will closed it when they leave and instead create reasons that they did not close it - like 'i thought you wanted it left open', or 'it was open yesterday', etc.